
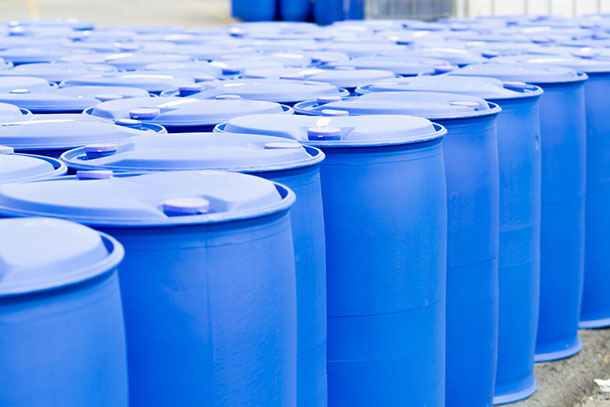
55-gallon plastic drums are useful for all sorts of DIY projects, from emergency preparedness to projects that are just for fun. If your property includes access to a pond or lake that’s good for warm-weather recreation, a floating dock is a great addition. These docks provide a great place to enjoy outdoor fun with friends and family and are fairly simple to construct using a few 55-gallon drums, making them a great family project or opportunity to get into DIY.
In this article, we’ll show you how to build a floating dock with 55-gallon drums from Air Sea Containers. It’s a relatively easy process that can provide a great spot for all kinds of activities, from swimming to fishing to canoeing. First, let’s talk about why 55-gallon plastic drums are an ideal material for this project.
Why Use 55-Gallon Plastic Drums to Build a Dock?
Traditionally, floating docks have been made with specialized dock floats, large plastic tubs that are designed to keep a dock floating. But 55-gallon plastic drums can also easily be used for the process, and they have some advantages that make them an attractive material choice.
The advantages of 55-gallon drums over traditional dock floats include:
- 55-gallon plastic drums are inexpensive, and used plastic barrels for sale are widely available. Dock floats typically cost at least $100 each, while 55-gallon barrels are available from Air Sea for under $50 apiece.
- 55-gallon plastic drums have thick walls and are built with great structural integrity that allows them to survive harsh outdoor conditions easily.
- 55-gallon plastic drums can be more resistant to freezing than dock floats because their rounded shape is less prone to cracking when iced over.
- 55-gallon plastic drums can be rolled over the ground, making them easier to transport than dock floats.
Shop for Heavy Duty 55-Gallon Drums at Air Sea Containers
Steps to Building a Floating Dock with 55-Gallon Drums
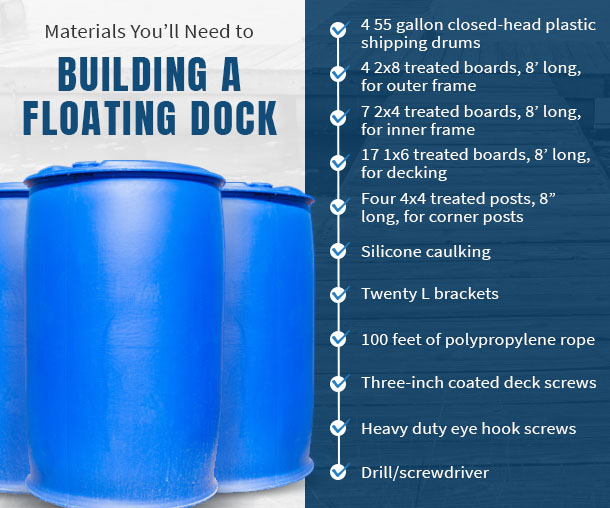
Now, let’s see how the actual process of building the dock is accomplished. The materials you’ll need include:
- 4 55-gallon closed-head plastic shipping drums
- 4 2x8 treated boards, 8’ long, for outer frame
- 7 2x4 treated boards, 8’ long, for inner frame
- 17 1x6 treated boards, 8’ long, for decking
- Four 4x4 treated posts, 8” long, for corner posts
- Silicone caulking
- Twenty L brackets
- 100 feet of polypropylene rope
- Three-inch coated deck screws
- Heavy duty eye hook screws
- Drill/screwdriver
It’s best to assemble your dock near the lake or pond that you wish to place it in, as your finished product won’t be easy to move over a long distance.
1. Build the outer frame.
First, you’ll need to build the square frame that will provide the foundation of your floating dock. To do this, place your 2x8 timbers into a square shape and screw them together at the corners, making sure to use the inside rather than outside corners[1] (as shown in the diagram).
To give your dock frame some extra stability, place a 4x4 corner post at each corner of the frame and screw them into the corners. Now you’ve got the outer frame that will give your deck its basic structure.
2. Create an inner frame for support.
Next, you’re going to use your 2x4s to create bracing for the inner frame that will hold the barrels in place, support the dock and give you a place to nail your decking boards. First, measure to the exact center of your square, place your first crossbeam there and attach it with screws. You’ll need to create a “cradle” for each barrel that will hold it in place and prevent it from shifting.
To do this, place another set of two 2x4 supports on each side of the center beam, as shown in the diagram. Place a plastic barrel between the supports to ensure that they’re the right distance apart and have a snug fit. The barrel shouldn’t be touching the ground. Remove the barrels before attaching the cradles to the frame with screws.
Then, you’ll attach two crossbeams on top of the others, running perpendicular, as shown in the diagram. These supports prevent the barrels from moving in their cradles and provide additional support to the dock. To find the right spot for the horizontal crossbeams, measure where the barrels end on the cradles and place the supports so that they will hold the barrels firmly in place. When you’re done, add L brackets to the crossbeam intersections in the inner frame. These will help make the frame more stable.
3. Prep your barrels.
Your 55-gallon plastic drums provide your dock’s main flotation, so you’ll need to make sure that they’re ready for use before adding them to your floating dock. Tighten the plugs on your plastic barrels as far as they will go and then add silicone caulking all around the plug to create a watertight seal. Some DIYers like to add ballast water to the drums for stability before sealing them, particularly when building a dock that will sit on a large and more wave-prone body of water such as a lake.
4. Attach the barrels to your frame.
Next, it’s time to add the barrels. First, you’ll add eye bolts to your frame to hold the ropes in place that will hold your barrels. Drill pilot holes for the eye bolts, two on each side of where each barrel will sit, and then screw the eye bolts in by hand.
Place the barrels in the cradles and then string your polypropylene rope through the eye bolts to tie down the barrels and keep them firmly in place. The easiest method is to tie a knot around the eye bolt closest to the frame and then loop the rope through each of the three remaining eye bolts and tie another knot around the final bolt.
5. Flip your dock over.
Flipping your dock upright can be a deceptively difficult task, so recruit some friends or family members to help you lift and flip it safely. Two to three people should be plenty. Move your dock as close as possible to the body of water in which it will rest before beginning the next step.
6. Add the decking.
You’re getting close to completion now, so it’s time to add the decking boards to your dock. Take your 1x4 boards and screw them into the support beams to create a deck. Make sure to leave some space between the decking boards (about ⅛” is good) to allow the boards to expand and contract and prevent warping when they get wet. Once you’ve added a few boards, you can use them as a platform to squat on while you nail in the rest.
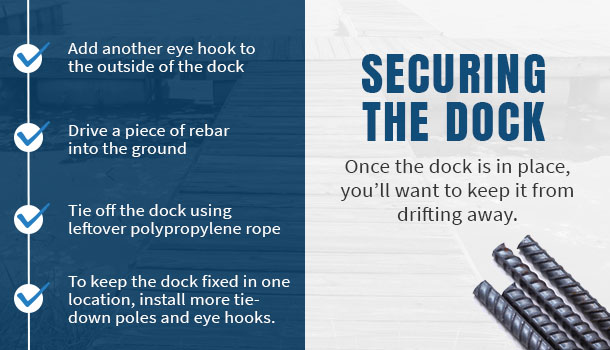
7. Secure the dock.
Once the dock is in place, you’ll want to keep it from drifting away. A very simple method is adding another eye hook to the outside of the dock, driving a piece of rebar into the ground and tying off the dock using your leftover polypropylene rope. If you want to keep the dock more firmly fixed in one location, simply install more tie-down poles on the shore and add more eye hooks to the dock.
Find Bulk Plastic Drums for Your Projects Here
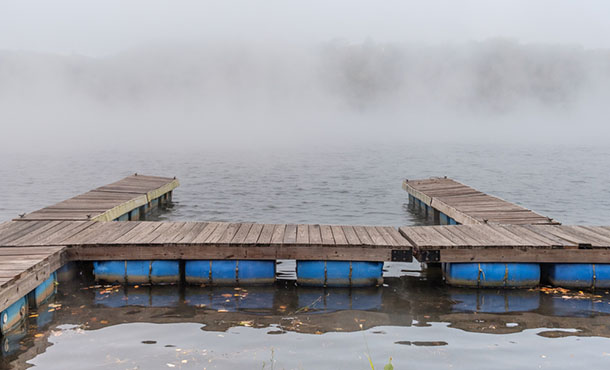
Now you’re ready to enjoy your dock. Grab your summer fun gear and your friends and family because you’ve got an awesome new place to enjoy the great outdoors!
Air Sea Containers has numerous options for your next DIY or upcycle project. For more tips on how to use our products to build cool stuff, see How to Repurpose Your Old Jerrican into Something Useful and 11 Ways to Upcycle Your Used Paint Cans.


